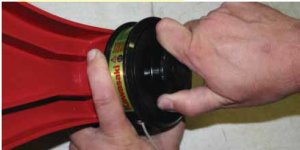
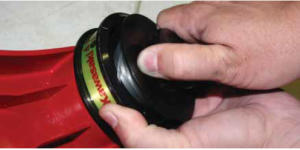
String Spool Disassembly
Do not push center spool in. Hold the outer cutter housing firmly and turn the spool clockwise until the slack is taken up. Continue further clockwise with a hard snap to release the spool from the housing.
– Remove the spool from the housing.
– Remove the remaining worn line from the spool.
String Spool Loading
Cut a line about 20 ft (6m) long.
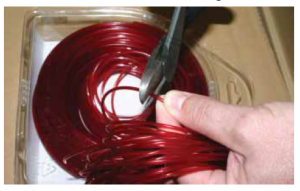
Thread the line through the cutter spool hole until both ends of the line are an equal length.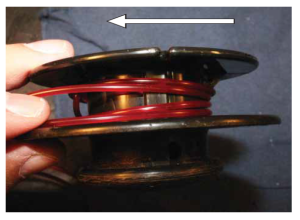
Keep the lines separated while winding the line in the direction of the arrow on the spool. Twisted line will cause a feeding problem.
Approximately 6 inches (150mm) of line should extend from each spool slot (A).
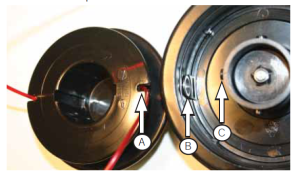 Whether using the 2-prong or 4-prong cutter head, it’s important to align the pegs (C) and eyelet (B) on the cutter housing with the slots in the cutter spool.
Line Trimmer Head Housing Assembly
Feed the ends of the lines through the eyelets on the cutter housing, allowing for approximately 6 inches (150 mm) of additional line.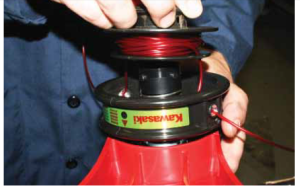
When using the 4-prong cutter head, hold the housing firmly, twisting the spool counterclockwise until the pegs lock the spool into the housing. Lightly pull on the trimmer lines.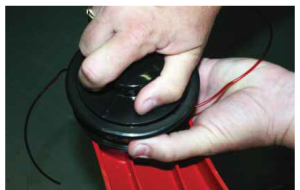
When using the 2-prong cutter head, firmly grasp the lines and tug at the ends with a quick snap and the spool will automatically lock into place. 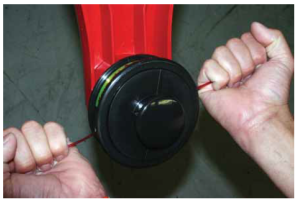
Cut the lines to about 4 inches (100 mm) long.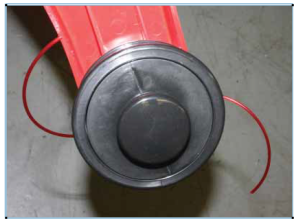
CAUTION: Inspect the cutter head assembly for secure fastening before use.
Reference: STRING LOADING PROCEDURE FOR TRIMMER CUTTER HEAD by Kawasaki

